These photo resin coasters are an ideal present for nearly everyone in your life. What grandmother wouldn’t appreciate a set of photo coasters featuring her grandchildren? What mother wouldn’t cherish a set of coasters bearing her children’s artwork? So, how to make your own photo coasters.
Easy to make photo coasters
They are simple to create, make excellent presents, and require few materials! Eight to ten DIY photo coasters would cost less than ten dollars, with plenty of resin to build more. The wax makes the coasters nearly glass-like, making them incredibly lustrous and resilient. You can always place photos on the glass.
You can use your children’s drawings, beloved photographs, ticket stubs, and newspaper clippings. If it is the latter, or if they are your children’s drawings, I would suggest scanning them and having them printed on photo paper, as you will never be able to remove them from the resin. The photo paper’s glossy varnish is compatible with the resin. Practically anything printed on glossy paper is acceptable.
What You Need for Photo Coasters
1. Resin
I favor the two-component epoxy resin. In most craft stores, You can find it in the adhesive section. You only need a little for each coaster, so choose the most miniature bottle unless you make many!
2. 4-inch White Tiles
You’ll need one for each coaster you intend to create. Check with your local home improvement store; mine were.18 cents each.
3. Photographs (or scanned artwork, memorabilia, etc.)
You will trim them to a 4-inch square, so choose lovely items in that format! Each coaster will need a beloved photograph. You can have additional pictures printed.
4. White craft paint
5. Brush/Foam Brush
6. Glue Stick
7. Craft felt
One 9×12 sheets require for every six coasters. Due to regular use, I chose black to conceal any stains that may appear on the underside of your coasters. You can also construct felt pads by cutting smaller squares for each corner.
8. A disposable cup and spoon
Reuse some of these coffee mugs; paper cups without ridges work best.
9. A well-ventilated area away from small children and pets.
Resin is a highly toxic substance; please ensure you work in a well-ventilated area away from children and animals.
Each brand of resin is unique; therefore, you should carefully read the instructions that arrive with your wax. I will provide numerous tips for working with wax, but observe the bottle’s instructions.
Avoid being intimidated. It is highly user-friendly, and you’ll be captivated once you see the professional-looking results you can achieve.
Let’s start once you’ve gathered all the necessary ingredients and cracked a window.
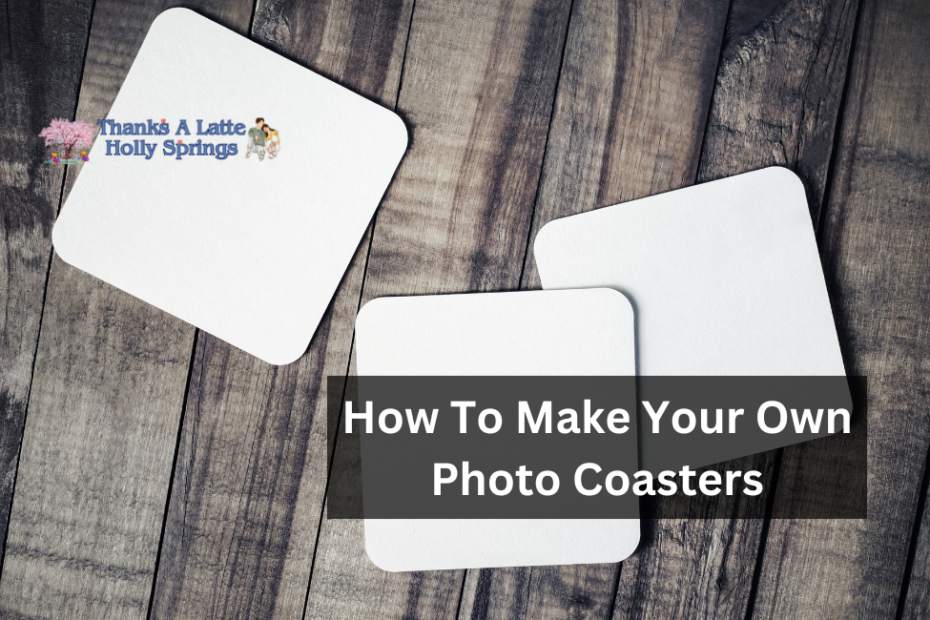
How To Make Your Own Photo Coasters
Protect your work surface from the paint and resin by covering it. Reusing plastic bags is most effective because, if something gets stuck, it is simpler to remove it from plastic than from paper.
Step 1: Paint the edges of the tiles
Paint the tile’s margins with white paint. This phase is optional, but I believe it enhances the professionalism of the final product. Only the top one is painted in the photograph, whereas the lower three are not.
Step 2: Trim your photos down for your DIY photo coasters
Since the painted edges will take a little while to cure, you should reduce the size of your photographs. I reduced mine to approximately 4x4in (under 3.87 x 3.87 inches). You do not want your pictures to extend to the perimeter of the tile; instead, they should be about 1/4 of an inch smaller. You must guarantee that the resin completely adheres the photograph to the tile.
Step 3: Glue photos to the center of a tile
Next, attach the photographs to the center of each tile using a glue stick. Ensure that you apply firmly. Leave it out to dry.
Step 4: Prepare the resin
While the tiles are curing, you should begin preparing the resin.
If you purchased two-part epoxy resin, you must combine the two components. These components must mix in equal amounts for the wax to harden correctly. For measuring, I use a plastic teaspoon; you’ll want something disposable.
Each coaster will require approximately two teaspoons of resin, so I measured four teaspoons of part one of the resin and four teaspoons of part two for four coasters.
Mix the resin thoroughly. Start a timer and agitate for at least two minutes. Stir as if beating eggs, halting every 30 seconds to scrape the sides and bottom. You must ensure that this is mixed.
If you are stirring adequately, many tiny bubbles will form; don’t worry, they will escape later.
Step 5: Spoon out resin onto your DIY photo coasters
After agitating, arrange your tiles on your covered work surface and prepare to work your magic. Gently pour one teaspoon of resin into the center of the tile using a teaspoon. Next, add another teaspoon on top of the first. Then, carefully press the resin to the tile’s edge using your spoon. You must apply an even layer of wax from edge to edge, halting a hair’s breadth from the tile’s edge.
Step 6: Repeat for each tile
Iterate for every tile. Take a flashlight, crouch down, and scrutinize each tile for any missed spots once the task is complete.
Step 7: Get rid of the little bubbles
If you notice tiny bubbles, take a deep breath and exhale carefully over each tile. The carbon dioxide will assist in bursting all of these little bubbles. However, it would help if you faced away from the tiles before inhaling again. You should avoid breathing in the resin. Repetition is required to eliminate all bubbles from your coasters.
Step 8: Wait for them to dry
Now you must patiently wait for the tiles to dry completely. This thin coat will require between 48 and 72 hours to cure completely. You should be able to deal with them within twenty-four hours. However, we recommend waiting for the amount to ensure your photo coasters are dry and dings-free.
Step 9: Glue felt to the bottom of your tile coasters
Next, adhere felt to their undersides to protect your table. Cut felt into 4-inch squares and glue them to the bottom of each coaster using hot adhesive.
Step 10: Enjoy your photo coasters
You can package them, present them as gifts, or use them at home. These tile coasters will give as an engagement present to a friend. The resin is durable and effectively protects your photos. It also makes cleanup simple; if they become stained, simply wash them down with a damp cloth.
Thank you for visiting…